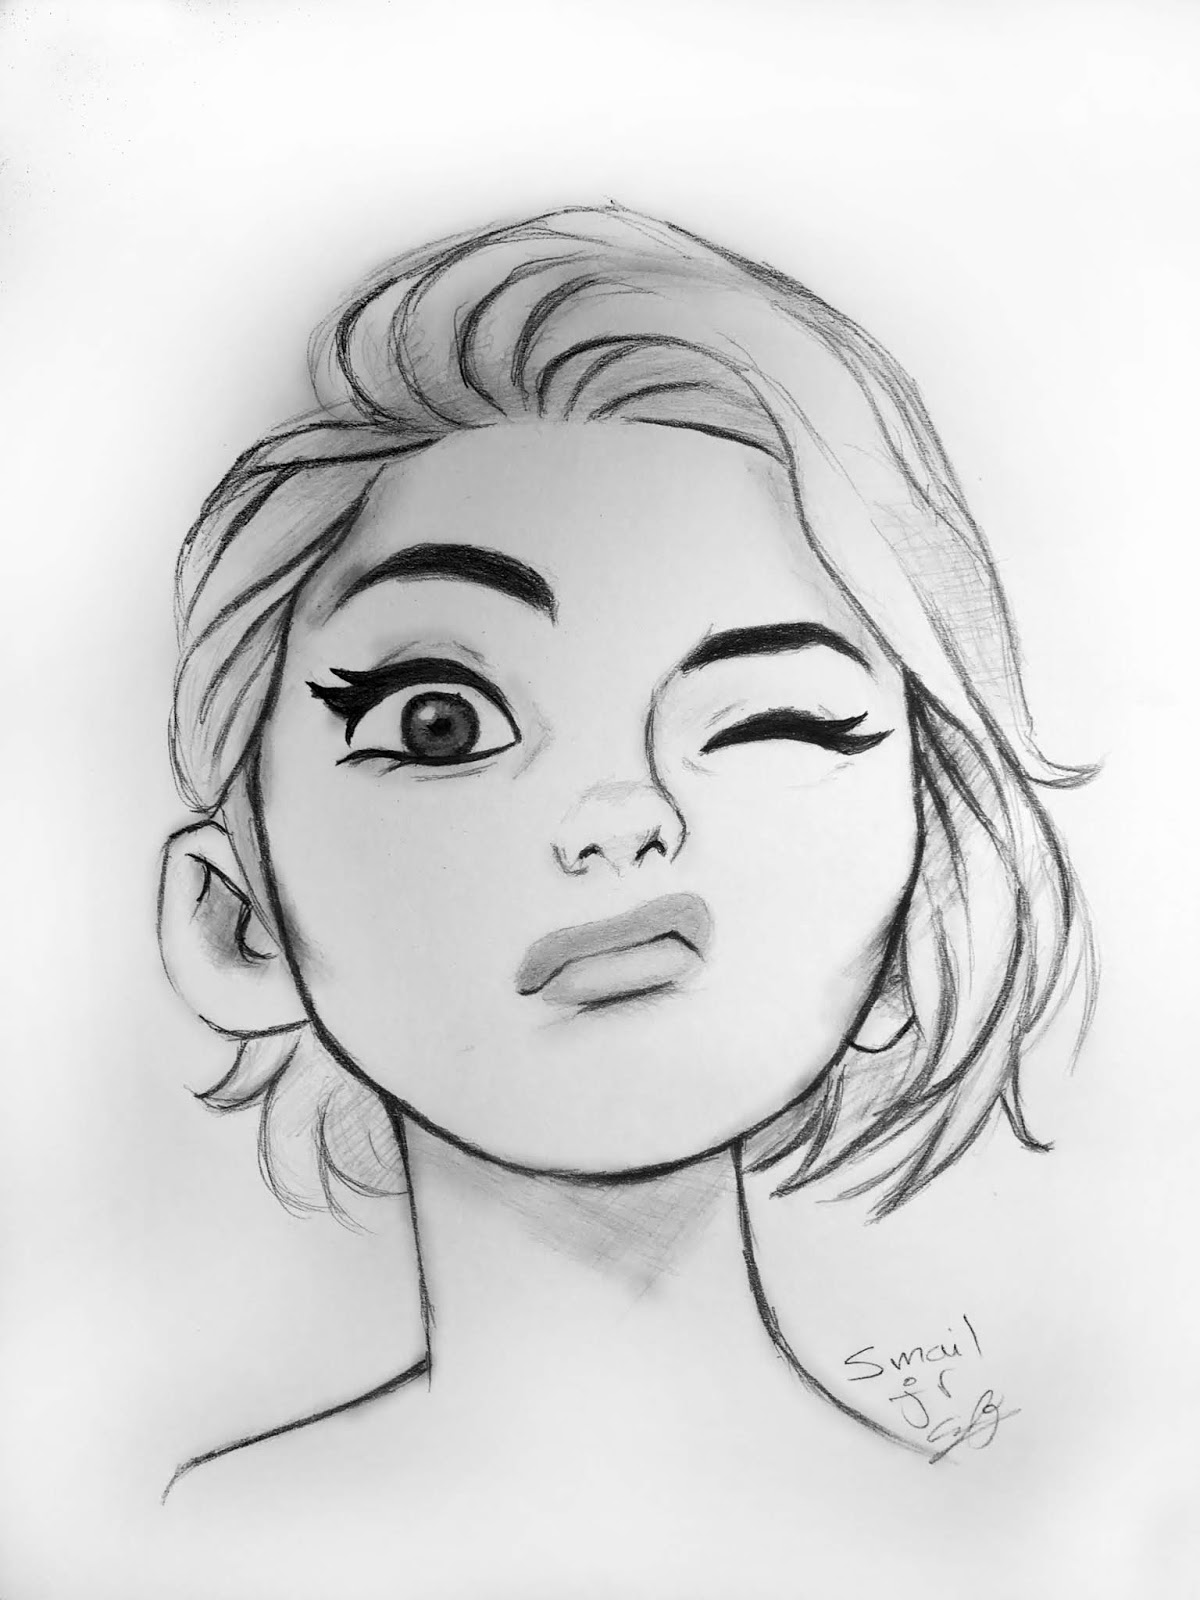
Pin by silms on irina
Table of Contents
Table of Contents
Are you tired of searching for step-by-step instructions on how to draw a straightener? Look no further! In this article, we will provide you with everything you need to know to create a beautiful and realistic drawing of a hair straightener.
Starting a drawing can be a daunting task, especially if you are unfamiliar with the subject matter. You may be wondering where to begin, what materials to use, and how to achieve certain aspects of the drawing. These concerns are entirely valid, but fear not! We will address all of these pain points throughout this post.
To begin your drawing of a straightener, you will need several materials. We recommend using a pencil, eraser, ruler, and paper. You may also choose to use colored pencils or markers to enhance the drawing’s details and add a pop of color.
To start, create a horizontal line near the top of your paper to indicate where the straightener’s top should be. Then, draw two vertical lines that connect to the top line to form a narrow rectangle. Next, add an oval in the rectangle’s center to represent where the straightener’s plates will be. Once the oval is complete, add a line at the top and bottom of the rectangle to form the straightener’s body. Finally, add details such as buttons or a cord to complete the drawing.
Personal Experience with How to Draw a Straightener
As an artist, I struggled with drawing straighteners at first. I found it difficult to make the drawing look three-dimensional and realistic. However, after following these steps, my straightener drawings have improved tremendously. Using a ruler to create straight lines and an oval template to ensure the plates’ size is consistent has been a game-changer for me.
Tips for Adding Realism to Your Drawing of a Straightener
To make your drawing appear more realistic, consider adding shading and highlights. This step will give the straightener depth and dimension. Additionally, pay attention to the details such as the texture of the plates and the reflection of light on the surface.
Use of Reference Images
If you are struggling to visualize what a straightener looks like, do not be afraid to use a reference image. It can be helpful to study the different components of a straightener and how they fit together.
Practice is Key
Like any skill, drawing takes practice. Do not be discouraged if your first few attempts do not turn out as you had hoped. Keep practicing, and you will see improvement over time.
Answering Common Questions About How to Draw a Straightener
1. What if I do not have a ruler?
If you do not have a ruler, you can substitute with any straight edge that you have on hand. A bookmark, credit card, or sheet of paper can work in a pinch.
2. Can I use a pen instead of a pencil?
While you can use a pen, we recommend using a pencil for this drawing. Pencils allow you to make changes and erase mistakes as you go. This can save you time and frustration in the long run.
3. What is the best way to add color to the drawing?
The best way to add color is by using colored pencils or markers. Make sure to pay attention to the light source in the drawing and use shading to create depth and dimension.
4. How long does it take to draw a straightener?
The amount of time it takes to draw a straightener will depend on your skill level and attention to detail. However, this drawing can typically be completed in 30 minutes to an hour.
Conclusion of How to Draw a Straightener
Drawing a straightener can be a fun and challenging project for artists of all skill levels. By following the steps outlined in this article, you can create a realistic and detailed drawing that you will be proud to show off. Remember, practice makes perfect, so do not be discouraged if it takes a few attempts to get it right. Keep practicing, and you will see improvement in no time!
Gallery
Straightening Comb | Handlettering, Hände, Zeichen

Photo Credit by: bing.com / straightening
Pin By Cai Xian Lai On My Drawings | Beauty, Hair Straightener

Photo Credit by: bing.com / straightener
Pin By Silms On Irina | Hair Straightener, Beauty, Straightener

Photo Credit by: bing.com / straightener
Pin By Frank Draw On Yenware Yw-ppc-1200i | Hair Straightener

Photo Credit by: bing.com / straightener
Pin On Latest Competitions

Photo Credit by: bing.com /